Setting up Freeola Email in Windows 10
Last updated on by Freeola Support
10 out of 18 people found this article useful.
Welcome to the Freeola Internet customer support pages. This guide is designed to help with setting up a Freeola email address on the Email application for Windows 10. For more internet help topics please visit our main Support Page.
Before Continuing
Please visit your MyFreeola account and make a note of the following information before continuing, you'll need to know this for later on in the guide:
1 - What protocol your e-mail address is set up to use (IMAP or POP3).
2 - What service is assigned to your e-mail address (EmailPro, Free Email or One Address).
3 - Your e-mail address password.
You can find this information by clicking Email Settings in the left-hand navigation in MyFreeola, then My Email Addresses. You should then be able to click Settings & Features button next to the relevant e-mail address to view all required email settings.
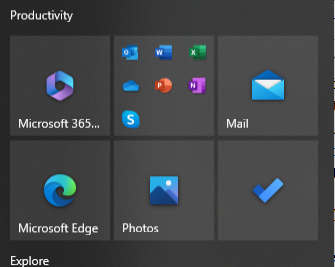
Open the Mail app by clicking the Windows Start menu and choosing Mail.
![Windows 10 Start Bar]()
If this is the first time you've opened the Mail app, you’ll see a Welcome page. Select Add account to get started.
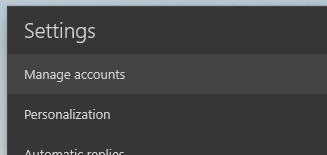
If you've used the Mail app before, at the bottom of the left navigation pane select Settings (the Cog Icon) and then choose Manage Accounts.![Windows 10 Mail Settings]()
Select Add account then choose Advanced Setup.
You may have to scroll down to see this option.
Select Internet Email from the Advanced Setup window.

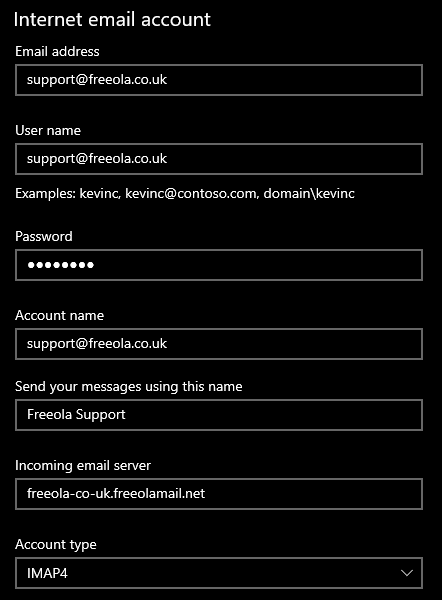
On the Internet email account window enter your Email Address, Username and Password as shown in your MyFreeola Account into the relevant fields.
Enter your Account Name as whatever you want to see in the left pane of Mail, as well as in the Manage Accounts pane. This can be anything you want, although we would recommend something that would allow you to easily identify this account in future.
Within Send your messages using this name enter the name you want recipients to see when they receive your message. Most people will use their name or business name here.
Enter your Incoming Mail Server as yourdomainname.freeolamail.net where 'yourdomainname' is your domain name with any dots ( . ) replaced with hyphens ( - ).
For example, if your domain name was freeola.co.uk, the incoming mail server would be freeola-co-uk.freeolamail.net.Select your Account Type from the drop down menu, dependant on the settings in your MyFreeola Account, this will be either POP3 or IMAP4.
![Windows 10 Mail Incoming Settings]()
Enter your Outgoing SMTP Server as smtp.freeolamail.net.
Please Note: This server is only accessible if you are subscribed to our EmailPro or One Address services or are using a Freeola Internet connection.Make sure that Outgoing Server Requires Authentication and Use the Same Username and Password for Sending Email are both Ticked.
We would also advise ticking the options for Require SSL for both Incoming and Outgoing emails.

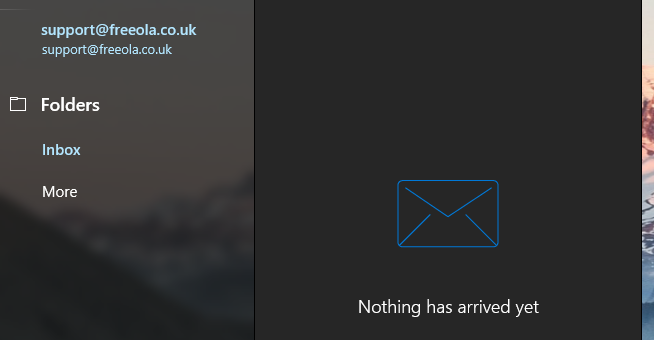
Click Sign in then Done. Your account will now appear within the left-hand pane, simply click this to view the Inbox.
Any IMAP Folders will appear under the Folders header within the same page.![Windows 10 Mail Inbox]()


Live Chat is offline
Live Chat is available:
9:30am to 5:30pm Monday to Friday (excluding bank holidays).
It appears you are using an old browser, as such, some parts of the Freeola and Getdotted site will not work as intended. Using the latest version of your browser, or another browser such as Google Chrome, Mozilla Firefox, Edge, or Opera will provide a better, safer browsing experience for you.