Editing Your Site Navigation
Last updated on by Freeola Support
2 out of 4 people found this article useful.
Important Information
This guide is for the Freeola InstantPro Website Builder. This service has now been replaced by a more modern product, RQS, and therefore is no longer updated with new features.
To build your website in RQS for free, please click here or visit the RQS Builder section of your MyFreeola Control Panel.
Important: When you first open the InstantPro Website Builder you will arrive at the Site Overview screen and you will need to click on Edit Theme Design under the Themes & Styling heading, as shown below.

The navigation for your site provides visitors with click-able links to each of your pages, enabling them to find their way around your site as easily as possible.
InstantPro has a number of built in Navigation Styles which you are able to use on your web site, and you can choose to display these to the left, right, or on top of your web site.
To begin defining your site navigation you will need to click the Edit button within the highlighted area shown on the image below.

InstantPro gives a few options as to the Position of your Site Navigation, which you will have to choose prior to selecting a Navigation Style.
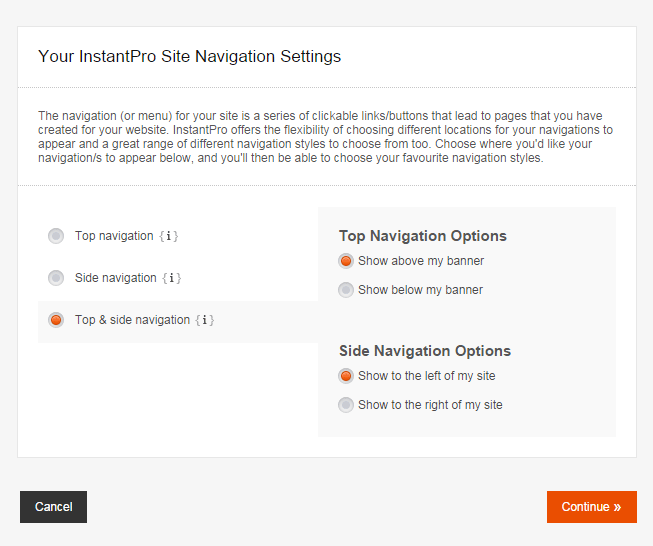
The example image above has the Top and Side Navigation option selected. To the right you will see the different placement options for your site navigation.
For Top Navigation you will see you can elect to place the navigation Above or Below your Banner Image.
For Side Navigation you are able to choose whether you place the navigation menu on the Left or the Right of your site.
There is no right or wrong way to display your site navigation, so this may be something to experiment with. Remember you can come back and edit these settings at any time.
The navigation used for this tutorial will be Side Navigation only, which is aligned to the Left. Once you have chosen the navigation positioning click Continue to choose from our free site navigation styles.
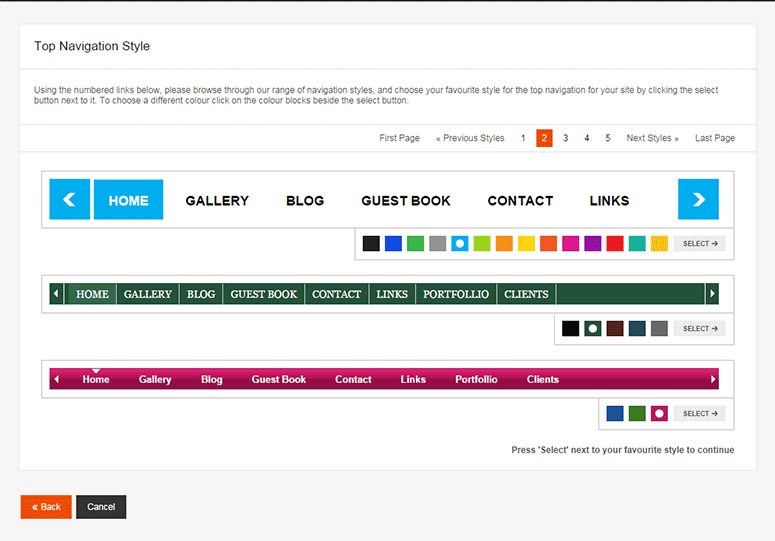
If you have chosen to display a Top Navigation, you will first be prompted to choose the style you would like - a selection of available top navigation styles is shown in the image above. Some navigation styles also have a range of colour options you can choose from.
From here, if you have chosen to display a Side Navigation too, clicking Continue will allow you to choose the side navigation you wish to have.
If you have only selected top navigation then you will be returned to the web site design editor.
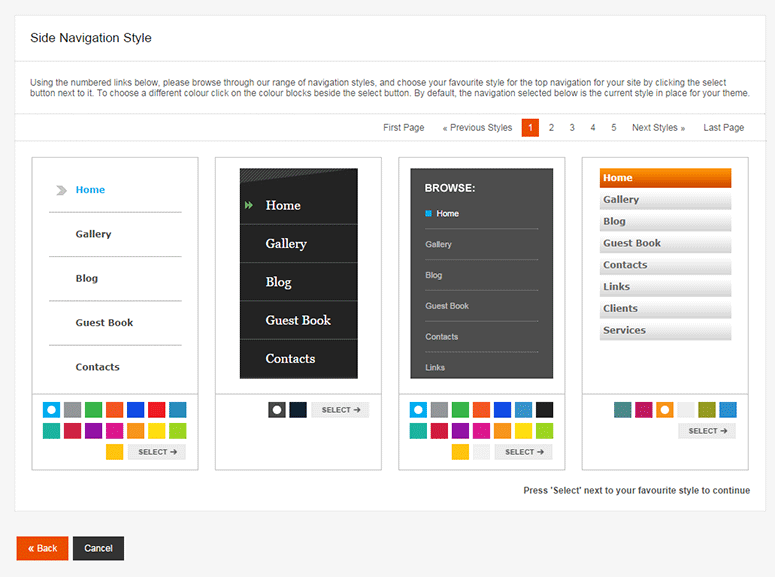
You will notice that the top and side navigation styles are quite different, which helps to add variation to your pages. There is more than just the one page of navigation styles available too, just click the numbers or click the Next Styles button at the bottom to scroll through more navigation options.
When your site navigation has been chosen click the Continue button to confirm your choice and return to the design editor.

Once returned to the main Web Design Editor page, you can see how the navigation style you have chosen suits your page. If you would like to choose a different style, or change the positioning of the navigation, just click the Edit button as described at the beginning of this guide and you will be able to make changes as you require.
Live Chat is offline
Live Chat is available:
9:30am to 5:30pm Monday to Friday (excluding bank holidays).
It appears you are using an old browser, as such, some parts of the Freeola and Getdotted site will not work as intended. Using the latest version of your browser, or another browser such as Google Chrome, Mozilla Firefox, Edge, or Opera will provide a better, safer browsing experience for you.