Adding Images to Your Pages
Last updated on by Freeola Support
1 out of 2 people found this article useful.
Important Information
This guide is for the Freeola InstantPro Website Builder. This service has now been replaced by a more modern product, RQS, and therefore is no longer updated with new features.
To build your website in RQS for free, please click here or visit the RQS Builder section of your MyFreeola Control Panel.
Adding images to your pages can really enhance the quality and appearance of your site. If you have pages containing a lot of text, adding images can add some variation to the page, making your website more visually engaging.
If you want to add images to your site to create a Gallery Page, take a look at our Gallery Page Tutorial.
Step 1
Using the Page Elements Sidebar, select the Add Image box and drag it on to the page. This will create a block that you can easily move around and resize.
Double Click the block to add an image.

Step 2
You will be taken to the Upload or Select Image window. You can select an image that you previously uploaded from the Media Library, an image from the Free Stock Image Library or you can choose to Upload a New Image. Use the tabs at the top to choose your method.
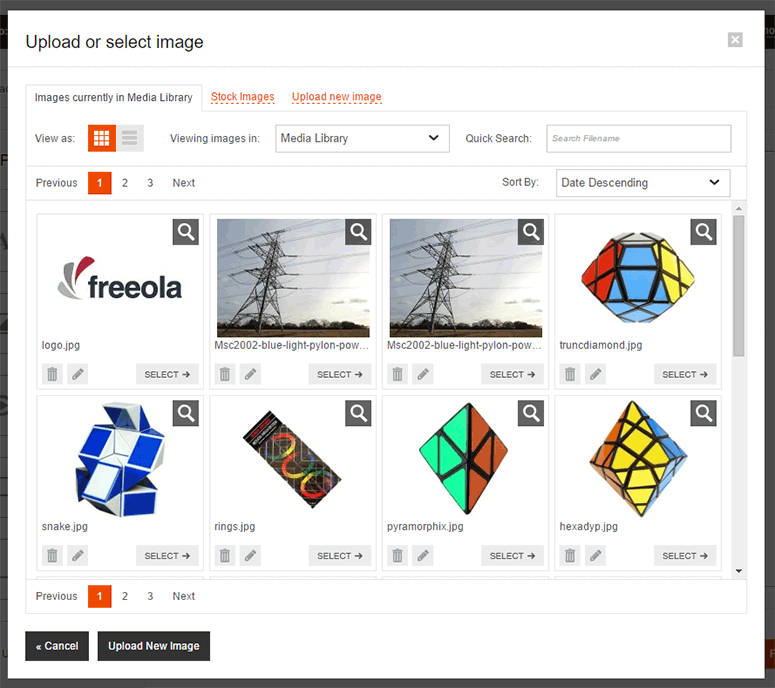
Step 3
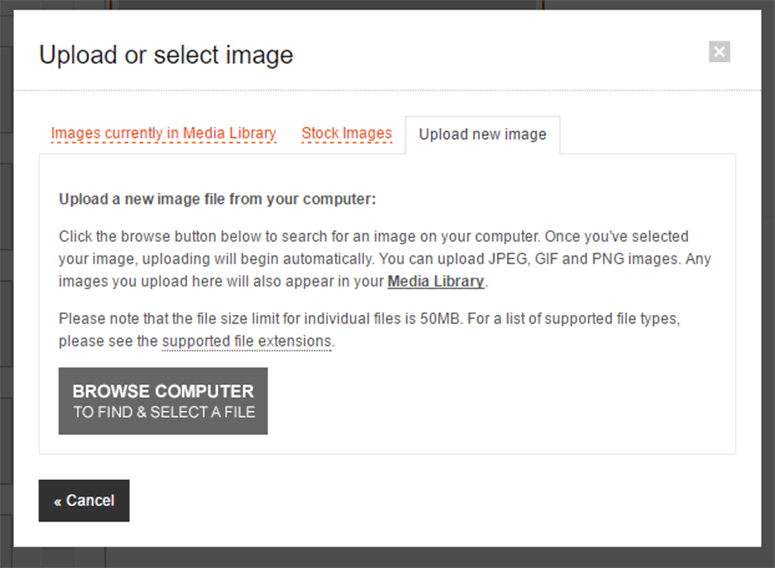
To select an image from the Media Library, or to use a Free Stock Image Library simply find the image and press Select. To upload a new image, select the Upload New Image tab, then press the Browse Computer button and choose an image you would like to upload, select it and press Open.
Step 4
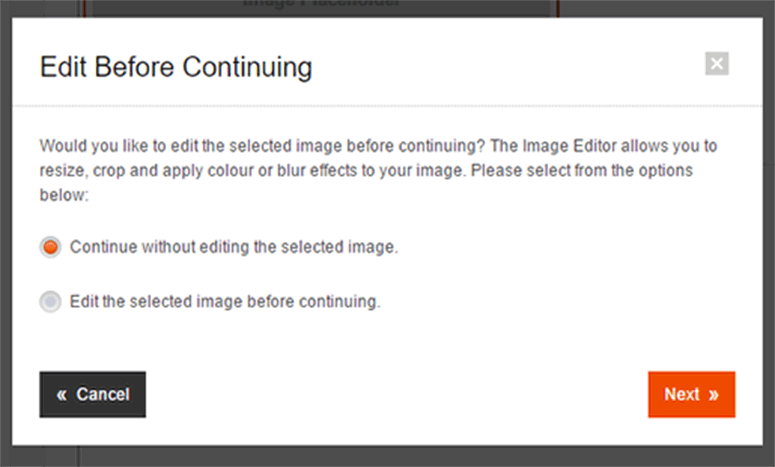
After selecting an image, you will be shown the Edit Before Continuing pop-up. This will be covered in the Editing Images section of this tutorial. If you are happy with the image, you can just select Continue Without Editing the Selected Image.
Step 5
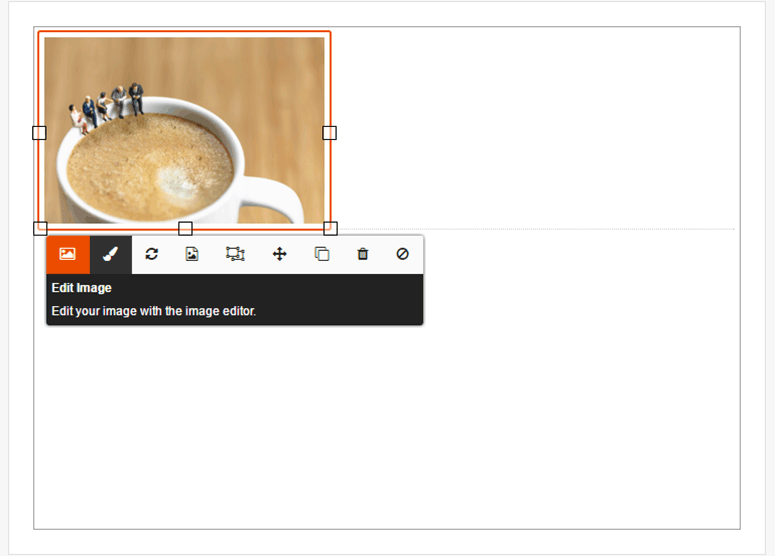
Your image will now appear within the Image Block in the Page Editor.

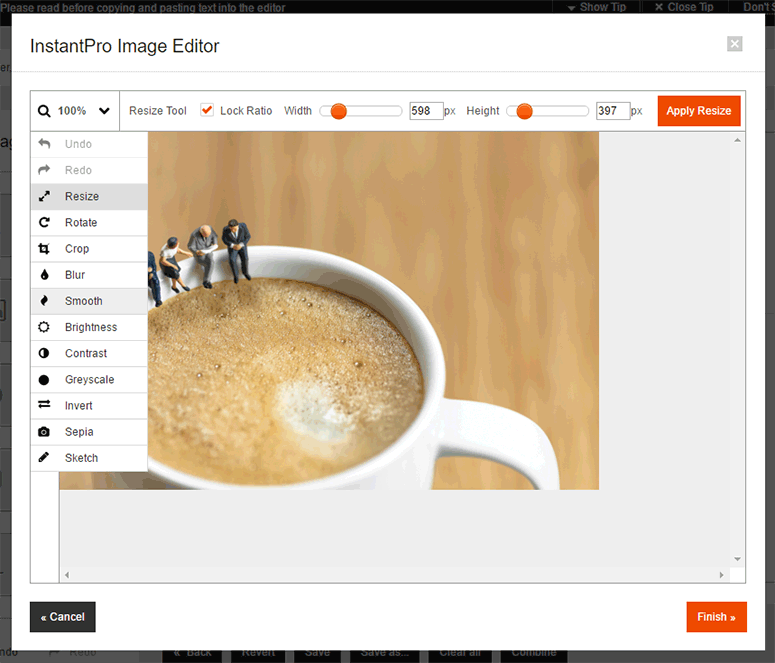
InstantPro has a built-in Image Editor, so you can resize your images or add different effects.
Your images can be edited before they are added to your page, or once they are already in place.
Step 1
Select the image that you would like to edit by clicking on it. From the Toolbar below, click the Edit Image button.
Step 2
This will take you into the Image Editor. There are a whole host of editing options - if you hover over the icons in the left hand side, the function will be displayed. Click on the effect that you want to apply, make any adjustments and click Apply.
Once you are happy with your image, press Finish.
Live Chat is offline
Live Chat is available:
9:30am to 5:30pm Monday to Friday (excluding bank holidays).
It appears you are using an old browser, as such, some parts of the Freeola and Getdotted site will not work as intended. Using the latest version of your browser, or another browser such as Google Chrome, Mozilla Firefox, Edge, or Opera will provide a better, safer browsing experience for you.