Uploading Documents
Last updated on by Freeola Support
Important Information
This guide is for the Freeola InstantPro Website Builder. This service has now been replaced by a more modern product, RQS, and therefore is no longer updated with new features.
To build your website in RQS for free, please click here or visit the RQS Builder section of your MyFreeola Control Panel.
If you have a large amount of information on a PDF or in a document, you do not have to copy it all out on to your webpages, you can link it to one of your pages. Visitors will also be able to download the content that you add using this method too. The feature is not just applicable to documents and PDFs, you can use it to link to music and video files too.
To follow this guide you will need to be familiar with creating hyperlinks, if you aren't then please read the Hyperlinks Tutorial.
Step 1
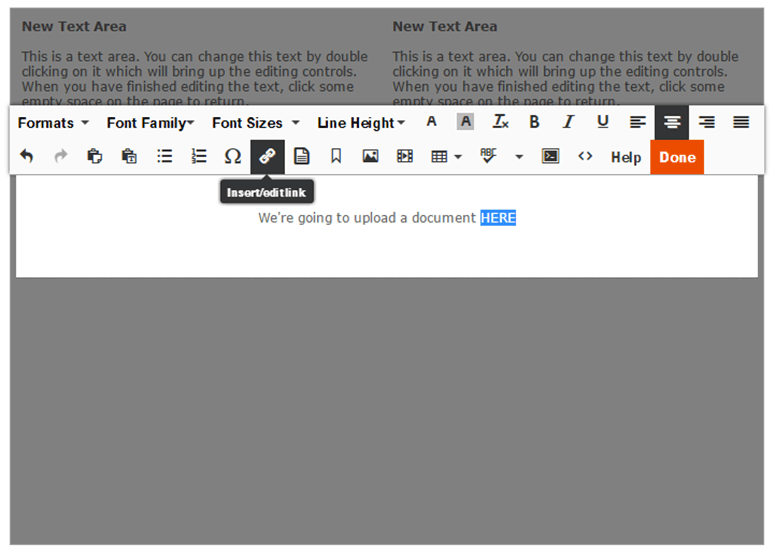
First Highlight the text that you want to link to a file and select the Insert/Edit Link button - the Insert Link box will appear.
Step 2
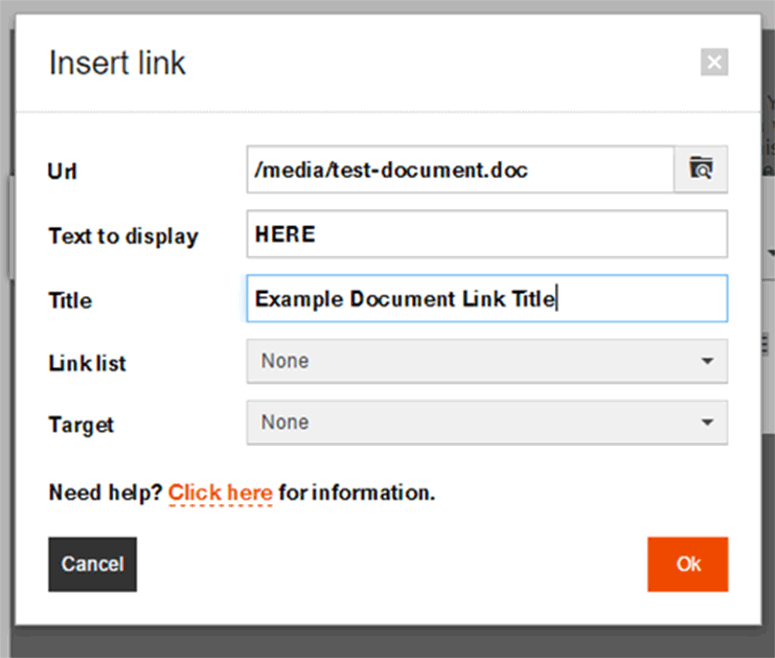
Click the Browse button to the right of the URL Field, which will take you to the Upload or Select File screen.
You can use a previously uploaded file from your Media Library, or select Upload New File to browse your computer for a file.

Step 3
Once you have selected your file or uploaded a new file successfully you will be able to specify the Link Title. (The Link Title is the text that will appear when a visitor hovers over the link).
When you are happy with this click Ok.
Visitors can download the files from your site, by clicking the Right Button and selecting the 'Save Target As...' option.
Live Chat is offline
Live Chat is available:
9:30am to 5:30pm Monday to Friday (excluding bank holidays).
It appears you are using an old browser, as such, some parts of the Freeola and Getdotted site will not work as intended. Using the latest version of your browser, or another browser such as Google Chrome, Mozilla Firefox, Edge, or Opera will provide a better, safer browsing experience for you.