Creating a Contact Page
Last updated on by Freeola Support
Important Information
This guide is for the Freeola InstantPro Website Builder. This service has now been replaced by a more modern product, RQS, and therefore is no longer updated with new features.
To build your website in RQS for free, please click here or visit the RQS Builder section of your MyFreeola Control Panel.
Contact Forms allow visitors to get in touch with you, without you having to publish your email address. All visitors need to do is fill in a few boxes, then the information they submit appears as an email in your inbox.
Step 1
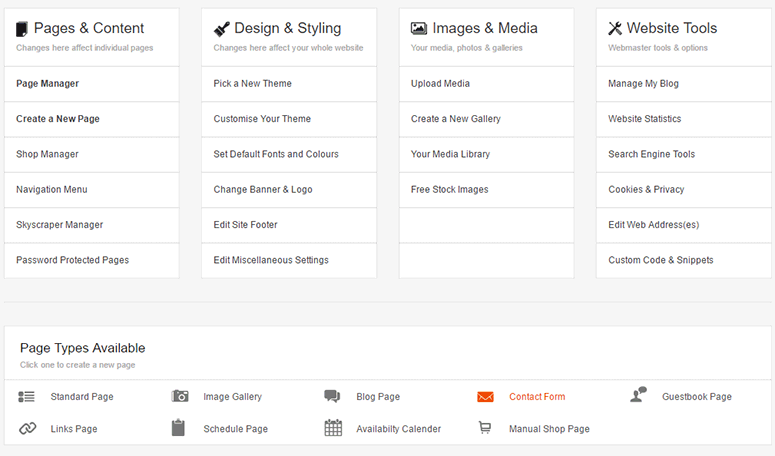
After launching InstantPro, you will be taken to the Main Menu. This serves as the starting point for managing everything on your site. Click Contact Form under Page Types Available to get started.
Step 2
Enter your Navigation Text and Page Title. The Navigation Text will be displayed on your site navigation and is also shown in the web address for this page. The Page Title is the text that will appear in the top bar of your browser.
Once completed, click the Next button.
Note: There are also some Search Engine Optimisation Options. Take a look at the Search Engine Optimisation (SEO) Tutorial if you're not sure what to put here.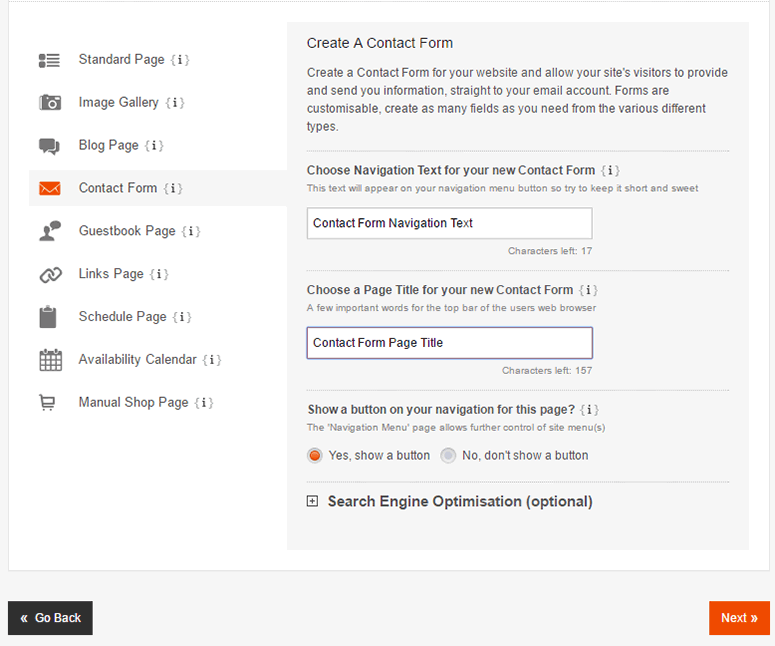
Step 3
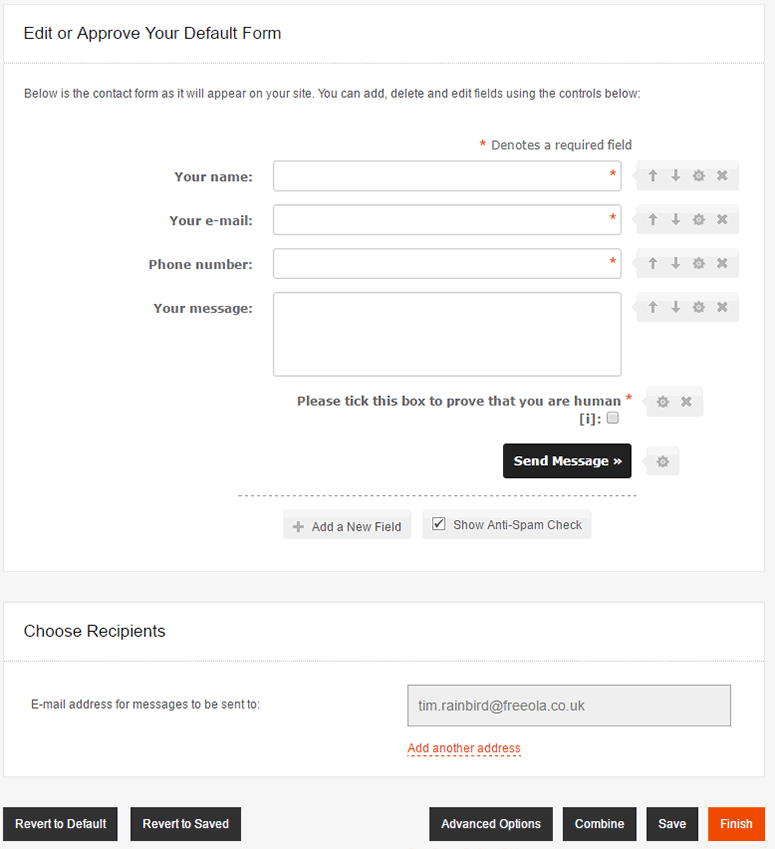
In the Choose Recipients section enter the email address that you want any enquiries to be sent to. You can add customisable fields with the Add a New Field button. You can also protect yourself from malicious software attacking your website with spam by selecting Show Anti-Spam Check.
Once you are happy with the results, click the Finish button.
Step 4
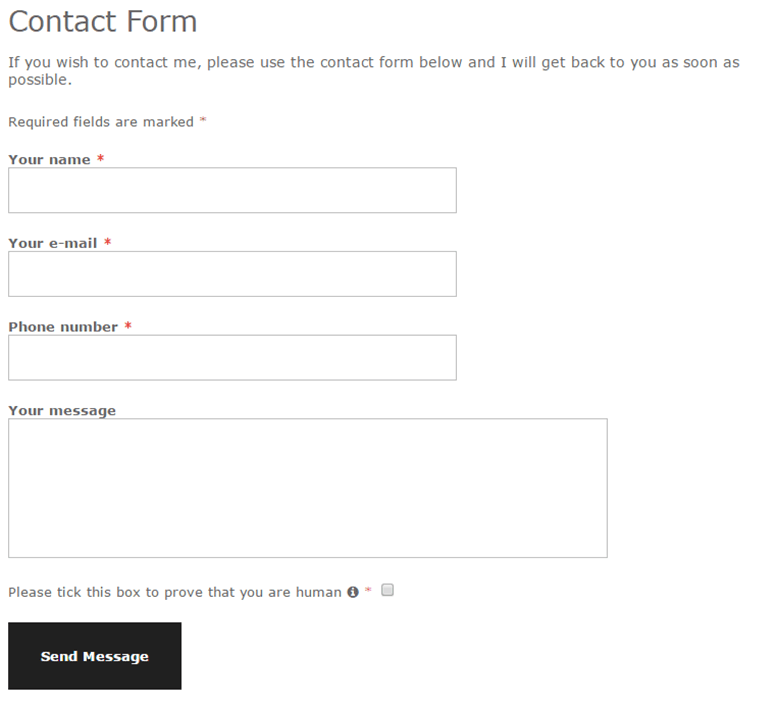
Your Contact Form has now been created. Visitors may now enter and submit their information. Once a visitor completes the form and presses submit, you will receive an email containing their enquiry.
Live Chat is offline
Live Chat is available:
9:30am to 5:30pm Monday to Friday (excluding bank holidays).
It appears you are using an old browser, as such, some parts of the Freeola and Getdotted site will not work as intended. Using the latest version of your browser, or another browser such as Google Chrome, Mozilla Firefox, Edge, or Opera will provide a better, safer browsing experience for you.